|
CTan automatic model building verification
- Download archive stone1_BMP.zip
- Unpak photos from downloaded archive stone1_BMP.zip into a separate directory
- Load photos into the CTan program
- Run automatic model creation
- Check the size of newly created models, it should be equal to models size in the stone1_Models.zip archive (12 912 684 bytes, 116 384 bytes)
- If sizes are different, please, check CTan settings
Oxygen import process verification
- Start Oxygen XRay
- Open Import XRay models dialog
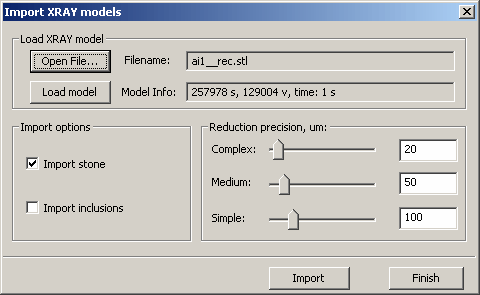
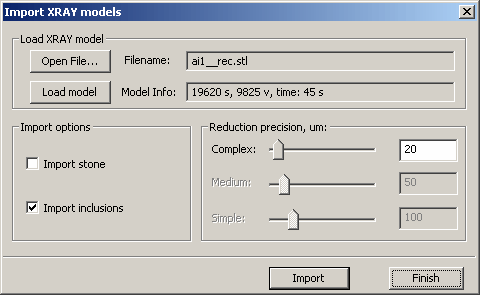
- Open STL file ai1__rec.stl from stone1_Models.zip
- Use default settings in the section Reduction precision (Complex = 20, Medium = 50, Simple = 100)

- To reduce model press button Import
- Check your sides s and vertices v number in Model Info panel with the screenshot below:

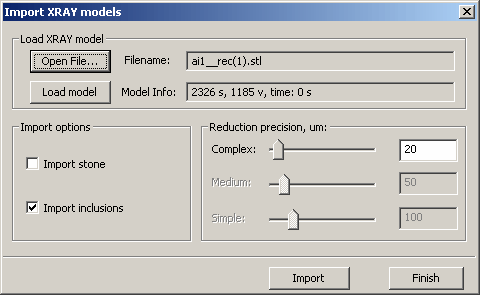
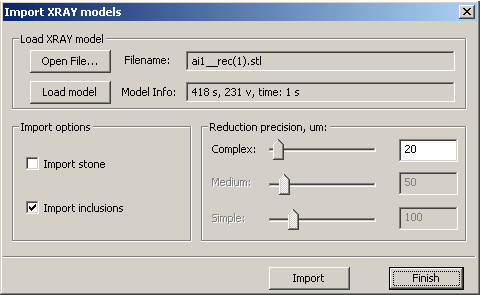
- Open STL file ai1__rec(1).stl from stone1_Models.zip
- Use default settings in the section Reduction precision (Complex = 20)

- To reduce model press button Import
- Check your sides s and vertices v number in Model Info panel with the screenshot below:

- Close dialog and compare your Oxygen project with stone1.oxg from stone1_Models.zip:
- Open another Oxygen XRay and open stone1.oxg
- Rotate models and compare them
- They should be identically
- If you have differences in steps 6, 10 or 11, please contact developers
|


