|
June 23, 2008 - Oxygen Microscope software version 2.3 is released.
- Creating Curved cracks
- Creating 3D Inclusions
- Constructing of Point inclusions is improved
- Auto focus
- Automatic shot for the new inclusion contour
- Crosshair & Pear button
- Inclusion contour selection windows updates
- Focus movement control is improved for MBox with OctoNus motor
1. Creating Curved cracks
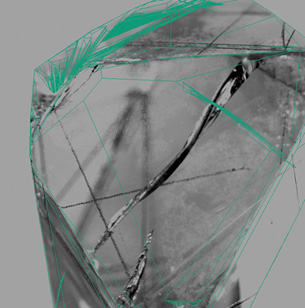
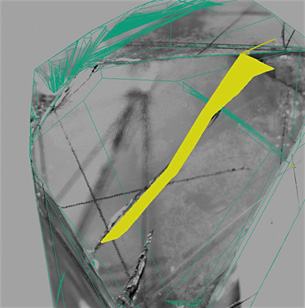
New Oxygen Microscope tool allows constructing surface Curved cracks.
|
|
| Photo of Curved crack |
Oxygen 3D model of Curved crack |
Algorithm constructs shape of curved crack by surface line and 3D points. The perpendiculars are put from 3D points in the deep of stone to Surface line. The other directions are constructed by interpolation (see illustration below). The final crack shape is defined by crack's Outline.
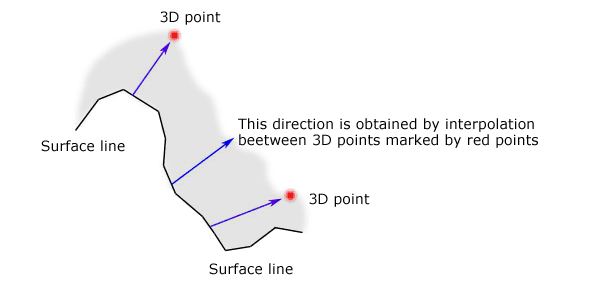
Note. At this time the tool allows to create only surface curved crack. At least one side of crack must be on the surface of stone.
Read more details in the Oxygen Microscope Documentation (PDF) ( section 4.4 Curved cracks)
2. Creating 3D Inclusions
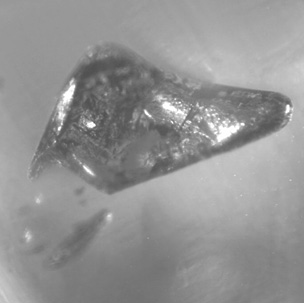
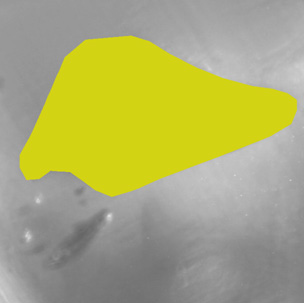
New tool 3D Inclusions is designed to create 3D inclusion models for large inclusions with complex shape and size more then field of depth.
|
|
| Photo of Large 3D inclusion |
Oxygen 3D Inclusion model |
Algorithm of constructing 3D inclusion is different from algorithm of Point inclusions. Cylinder is created by 3D inclusion's contour and cut only from one side closed to observer (see illustration below). Because the observer can not see what is beyond field of depth for large inclusions, is there inclusion or not.

|
| Cylinder is created by 3D inclusion's contour and cut from one side; the side is near by observer |
In case of Point inclusions cylinder is cut from two sides. The length of cylinder is equal a field of depth.
Read more details in the Oxygen Microscope Documentation (PDF) ( section 4.2 3D Inclusions)
3. Constructing of Point inclusions is improved
Point inclusion algorithm is improved. New feature of constructing algorithm also allows make correct Point inclusion by several photos even in case of photo out-of-focus allocation.
4. Auto focus
AutoFocus button allows to focus on the real surface of rough or on the inclusion automatically.
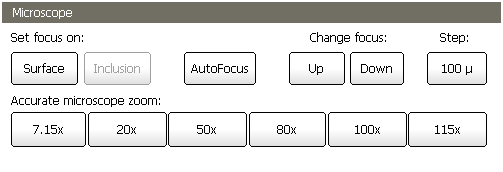
The program moves the focus in the area of several depths of field and searches for the sharpest image near the crosshair. The analyzed image area is 100 pixels around crosshair; the focus scanning area is about 15 depth of field.
Use [Ctrl-A] hot key for AutoFocus, this key sequence can be also assigned to some button of Logitech MX Revolution mouse.
5. Automatic shot for the new inclusion contour
When the software is in Microscope/camera mode you don't need to click button Shot before making new contour - a new shot is made automatically when you click on button Make Contour By Current Photo.
When the software is in the Photo mode then the selected (active) photo is used for contour creation (the same behavior as in previous versions).
6. Crosshair & Pear button
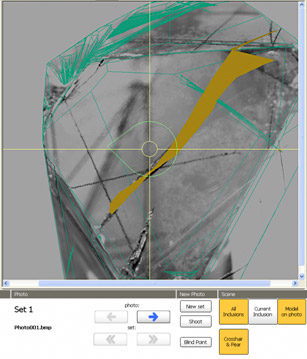
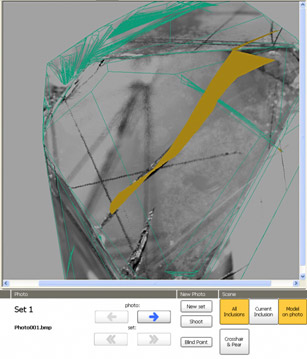
Crosshair & Pear button allows to switch On / Off crosshair and pear indicator on Scene.
|
|
| Crosshair & Pear button switched On |
Crosshair & Pear button switched Off |
6. Inclusion contour selection windows updates
New option to switch the crosshair On / Off is added in the Preview toolbar in the Inclusion contour selection window.
Use new Hot keys for this window:
A - switch On / Off crosshair
P - switch On / Off inclusion projection
Download Oxygen Microscope Documentation (PDF)
| 


