|
3.1 Inclusion numbering for every type of inclusions
Every type of inclusions is assigned name with its type automatically. Every type of
inclusions has own numbering order: 3D-1, Point-1, Crack-1, Point-2 and so on
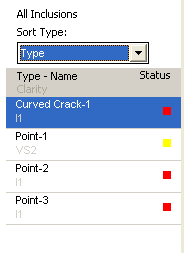
It is possible to sort inclusions by Type, Name, Status in allocation and Clarity.
3.2 Different names for different types of cracks, flat and curved |
Table of Content |
The different names for flat and curved cracks are created in the new version. But if a
crack was created in previous version its name will be just Crack without type.
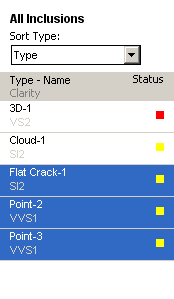
3.3 Changing status for several inclusions and deleting several
inclusions are available in the inclusion list |
Table of Content |
The list of inclusion allows to select several inclusions and delete or to change its status
by context menu.
For example, to set yellow status for several inclusions:
- Select inclusions with left click

- Right click mouse on selected inclusions to open context menu
and select Set Yellow Status
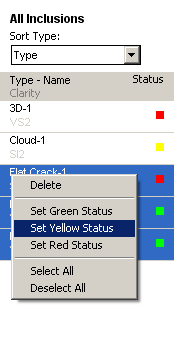
- The statuses are changed
Search inclusions panel now works for the whole cracks (not only deep points).
3.5 Adding precise contour into deep points
without switching into
Photo view mode from Microscope camera mode |
Table of Content |
New interface allows to add precise contours without switching into Photo view mode.
For example, you are in Microscope camera mode and need to add new contour into
Deep Point1 of a crack.
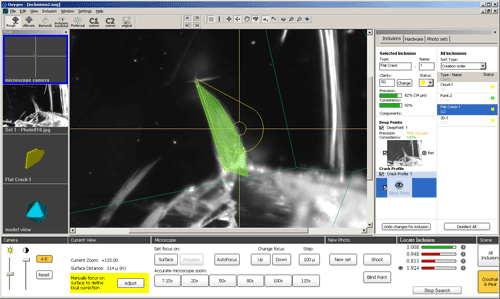
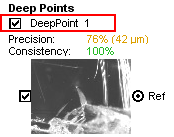
To add new contour into already existing Deep Point1 you should select Deep Point1
inclusions component.
There are two methods to do it:
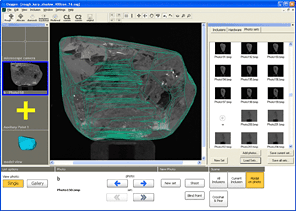
Method 1. Click on Deep Point 1 thumbnail photo

As a result you will be switched into Photo view mode:
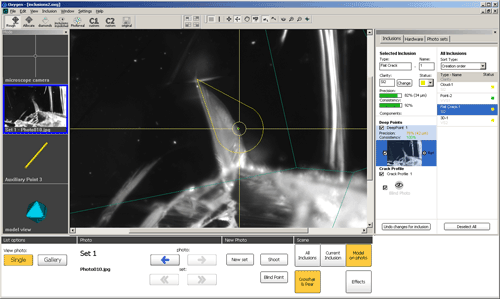
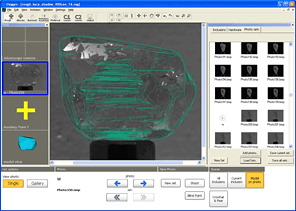
Method 2. Click on Deep Point 1 title, or any place except thumbnail photo
As a result you will be still in the Microscope camera mode (not switched into
Photo view mode):
3.6 Creating a Deep point or its precise contour
by mouse click in Scene in place where you want to create it |
Table of Content |
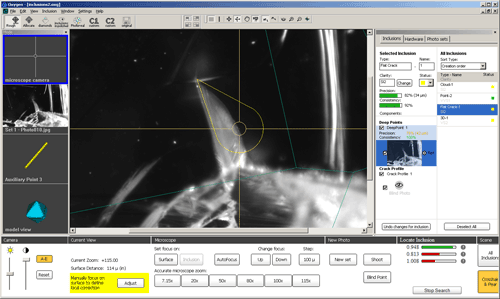
The new interface allows to create Deep points by mouse click in Scene in place where
you want to make it.
For example, to create precise contour into existing Deep point:
- Be sure Deep Point component is selected in the panel Inclusions / section
Components
- Look into microscope and focus into a place where precise contour should be
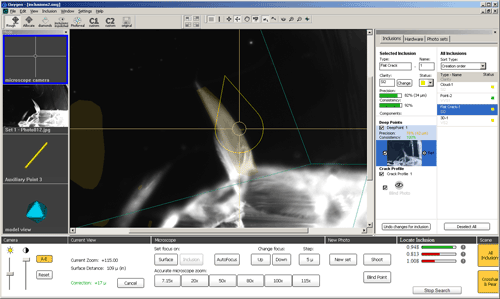
- Right click mouse on Scene in place where you want to create precise contour and
select in context menu Add instant contour to current deep point
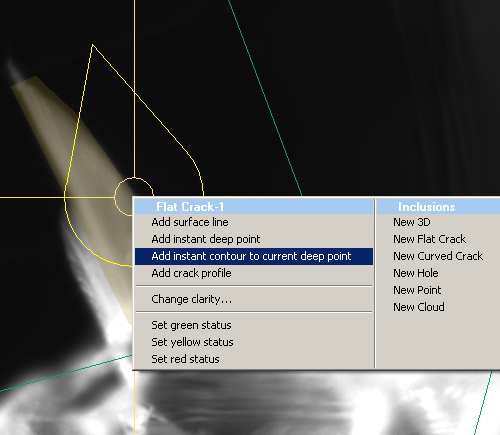
- The precise contour is created

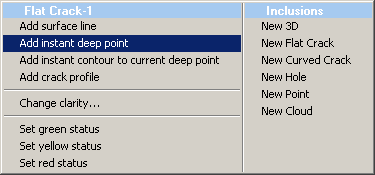
To add a new Deep point use the same way. Right click mouse on Scene in place where
you want to create new Deep point and select in context menu Add instant deep point
3.7 Changing photo sets of HR photos without changing number of
photos |
Table of Content |
Changing photo sets of HR photos without changing number of photos is available. So, if
Photo set is changed the stone will remain in the same position. It provides an effect of
changing of lighting in Scene:
| Set 1. Dark lighting |
Set 2. Light lighting |
 |
 |
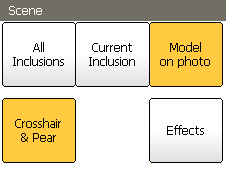
The button Effects in the right bottom allows to
activate Auto-Contrast and other visual effects
helping to see inclusions and crack borders clearly on
the photographs with low contrast and imperfections.
The new option Auto Exposure is available in the
Microscope camera mode. To switch on Auto-
Exposure press button A-E in the section Camera

| 


